Settings will give you access to manage your branding customizations, your account contact information, and the API keys for any custom integrations. There are a few different spots this happens across the Loup Admin Dashboard. If you are looking for how to invite a team member or cohost, please visit this article.
How to Access Branding Customization
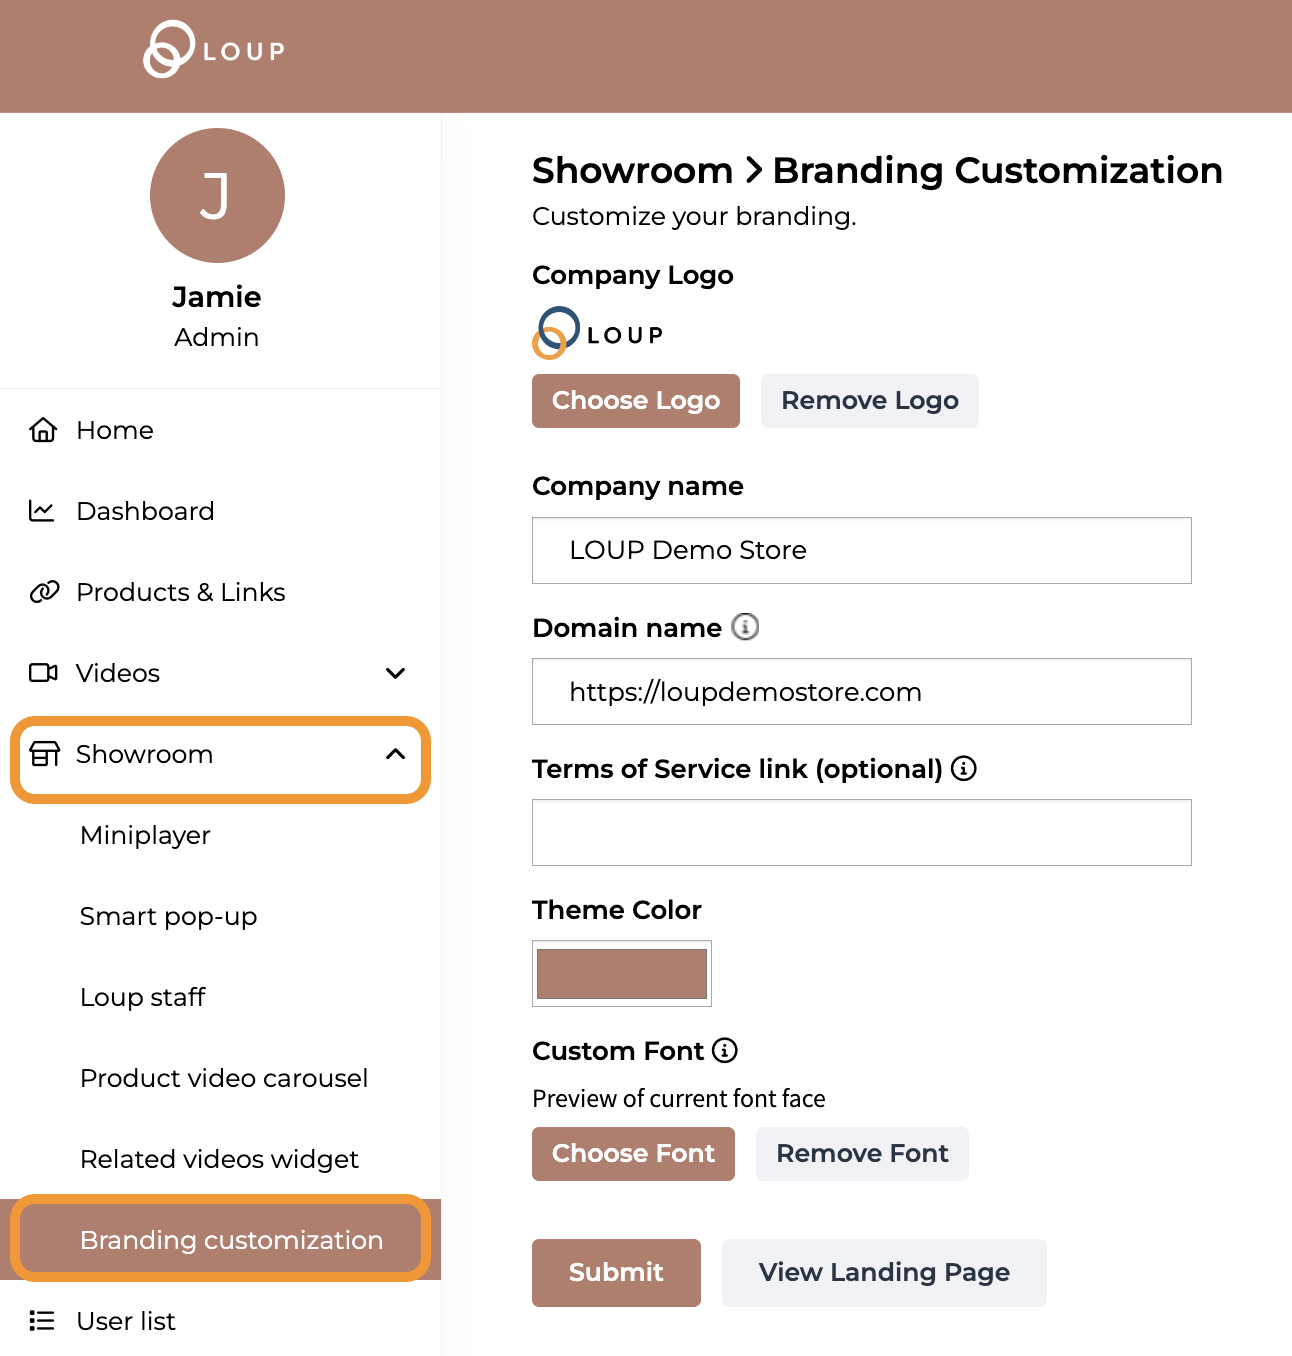
- In the left sidebar, navigate to Showroom > Branding Customization

- Fields defined:
| Setting | Defined |
| Company logo | Upload a company logo to brand your events. Logos are displayed in the upper left hand corner of each event, and when clicked will direct customers to your home page. |
| Company Name | Your company name will be used in customer facing features including Event pages, and emails. |
| Domain Name | Your domain name will be used to generate your event page which can be found at <domain name>/pages/events. |
| Terms of Service Link | New users who RSVP to your events will be linked to this Terms of Service Page, and must accept to successfully opt into receive marketing messages from your brand. |
| Theme Color | Theme color is applied to both backend and customer facing features, including buttons and sidebar navigation. |
| Custom Font | Custom fonts are applied to all customer facing modules including the event page, RSVP page, and featured products. |
How to Access Your Account Settings
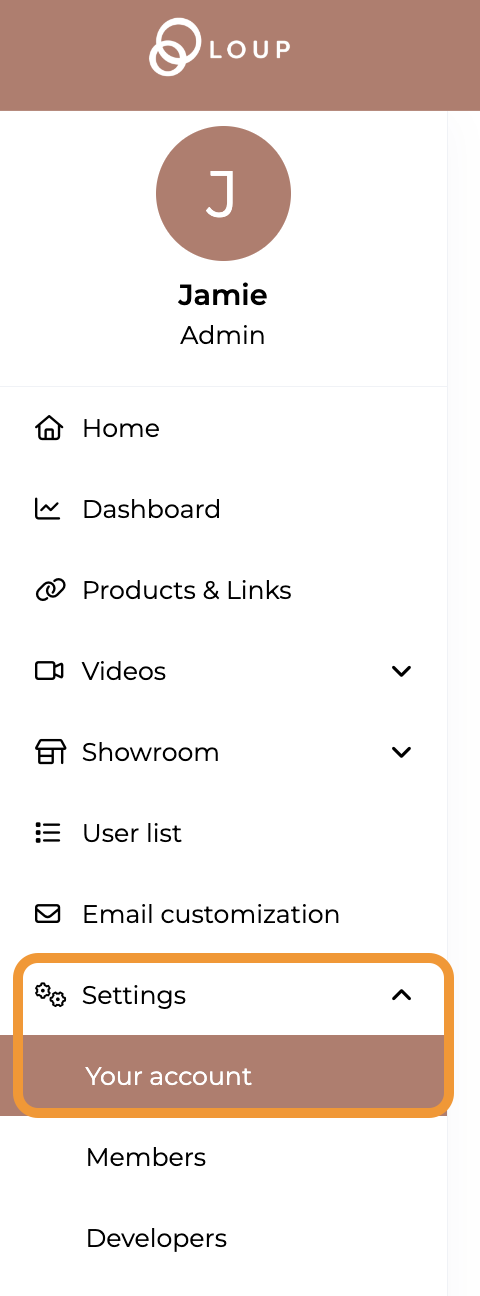
- In the left sidebar, navigate to Settings > Your Account

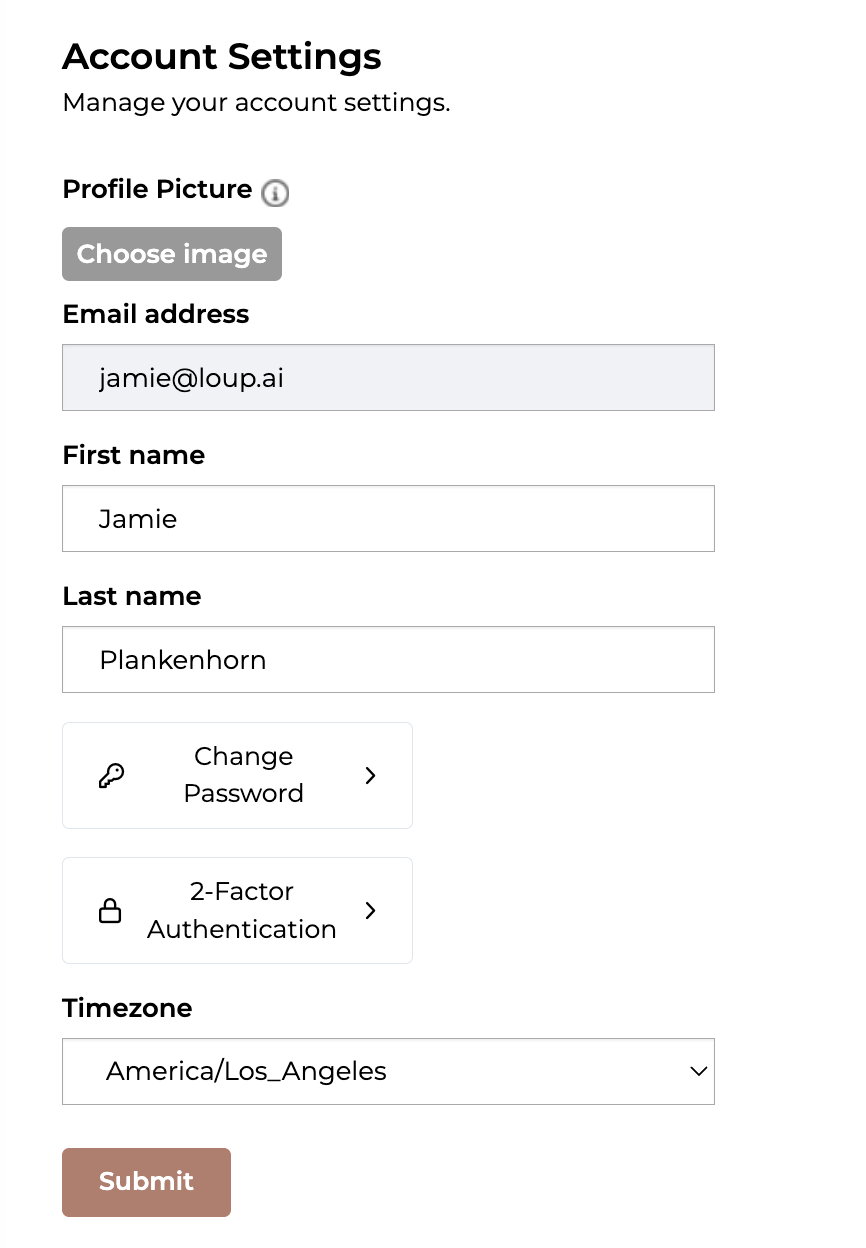
These are the settings that are unique to your profile.
- Fields defined:
| Setting | Defined |
| Profile Picture | Use your profile picture as a way to connect with audience members of events you host. It will be displayed on the RSVP page as well as in the Admin panel when you are logged in. |
| Email address | The email address associated with your Loup admin account. |
| First Name | Your first name as it is displayed across the Loup platform - including as a host or cohost to audience-facing events. |
| Last Name | Your last name as it is displayed across the Loup platform - including as a host or cohost to audience-facing events. |
| Change Password | A spot to proactively change your password |
| 2-Factor Authentication | Use 2-Factor Authentication (2FA) as an extra step in keeping your account secure. When you enable 2FA, you will be sent a code to the email address associated with your account to verify your access each time you log in. Please note codes can only be emailed at this time. |
Timezone |
The timezone your events will be shown in. |
How to Access Your Developer Settings
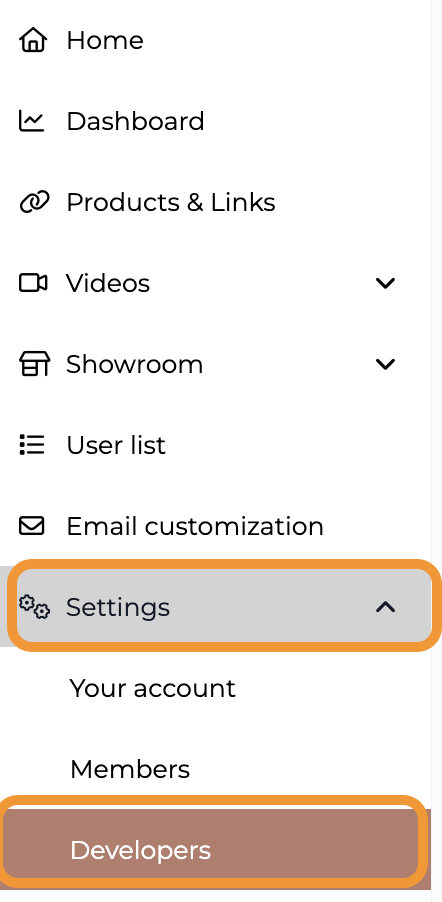
In the left sidebar, navigate to Settings > Developers
Developer settings will have:
- Your company's Public and private API keys for use with the API documentation
- The spot to put the Klaviyo API Key if you are utilizing the Klaviyo integration
- The spot for the multipass token